Printer setup Epson TM-T20ii
Introduction
In this guide, we will be going through the steps of configuring an Epson printer which will be used as a receipt printer. We will be statically configuring the IP address in line with the gateway so all of our EPOS systems work together.
- Perform a feed test on the printer and confirm it's getting the IP address 192.168.192.168. If the printer isn't getting this address please factory reset it.
- Power off the printer
- Hold down the feed button
- Power the printer back on while holding the feed button (This will print a configuration page)
- The first step is to change the IP address on the PC so it can browse to the IP address of the printer.
Right-click on the internet/Wi-fi icon on the bottom right-hand side of the taskbar. Click on “Open network and sharing center”.

- You will then get directed to this page. Click on “Change adapter settings”
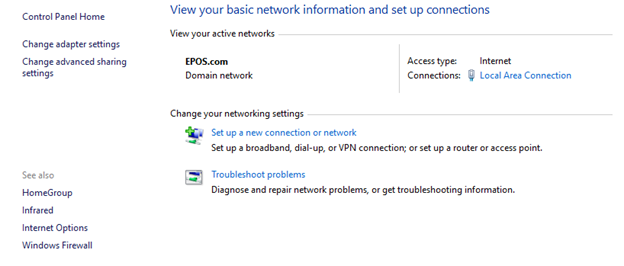
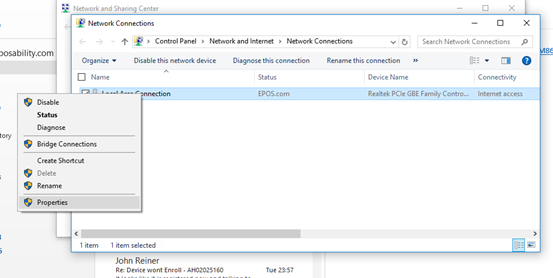
3. The next step would be to right-click “Local Area Connection” and click on “Properties”.
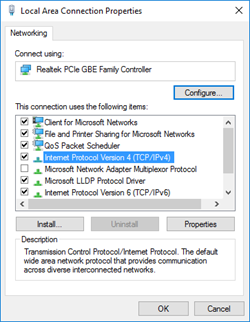
4. You will then be directed to the page below, double click on “Internet protocol version 4 (TCP/IPv4).
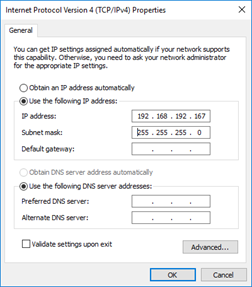
5. Tick “Use the following IP address” as this will you to input an IP address. You will need to input the following:
IP address: 192.168.192.167
With regards to the subnet mask, it will automatically input itself depending on what the IP address is.
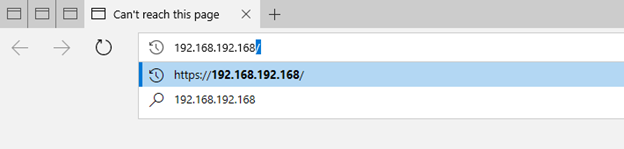
- Once the printer is connected to the computer browse out to 192.168.192.168
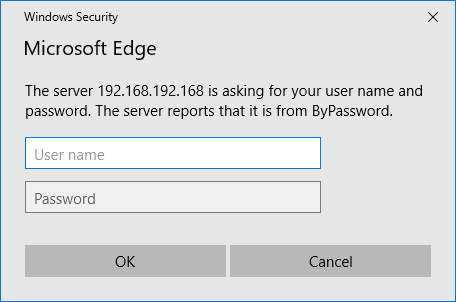
- Input the username and password (epson and epson Or epson and the serial number of the printer)
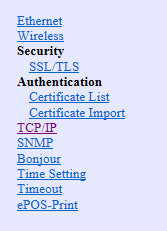
- Navigate to the TCP/IP section
- Change the "Acquiring the IP address" to "Automatic". Click “Send” at the bottom of the page.
- Now that the configurations have been sent through to the printer you just need to check it. Turn the printer off, hold the feed button down and then turn the printer back on (keep holding the feed button) and the config page should print out.
Comments
0 comments
Please sign in to leave a comment.