**All the details needed to complete the setup are provided by Dojo**
Lightspeed Step:
Step 1) Creating the Payment Method.
a) Go to "Configuration > Settings > Payment methods".
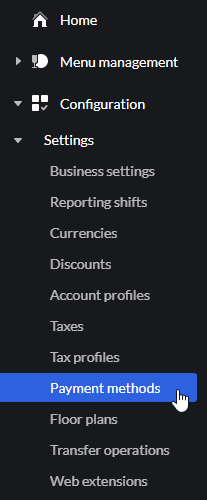
b) Select "Add a payment method".
c) Enter the "Name" of the Payment method e.g. Dojo, then select "Payment Sense" from the payment method type dropdown. (Do not change the "Code" once it's populated).
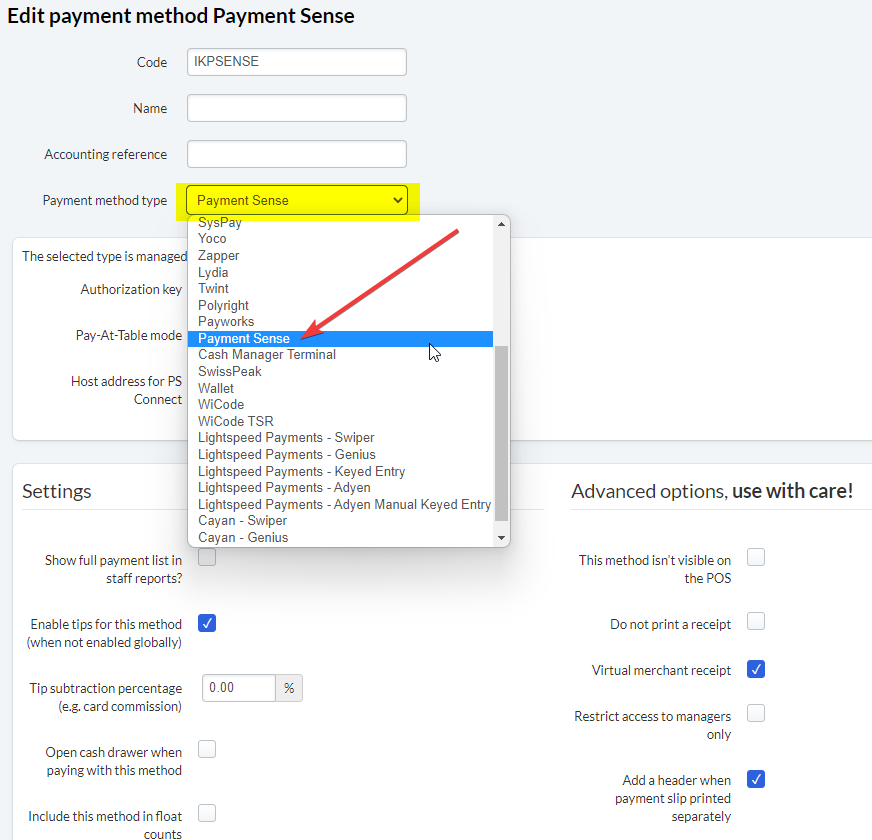
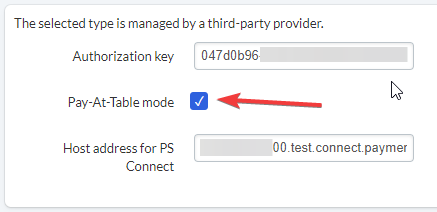
d) Enter the "API Key" in the "Authorization Key" box. Then enter the "Host Name" in the "Host address for PS Connect". (Make sure you don't have any spaces in the "API Key" and "Host Name").
If you're planning to use Pay at table you will need to tick the "Pay-At-Table mode" option.
Step 2) Adding the card readers.
a) Go to Configuration > Hardware >Payment Terminals.
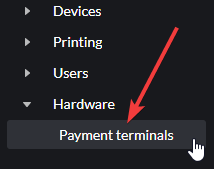
b) Select "Add new terminal".
c) Enter the terminal name
d) Select "Payment Sense" as the "terminal type"
e) Enter the TID number into the "Terminal ID" box

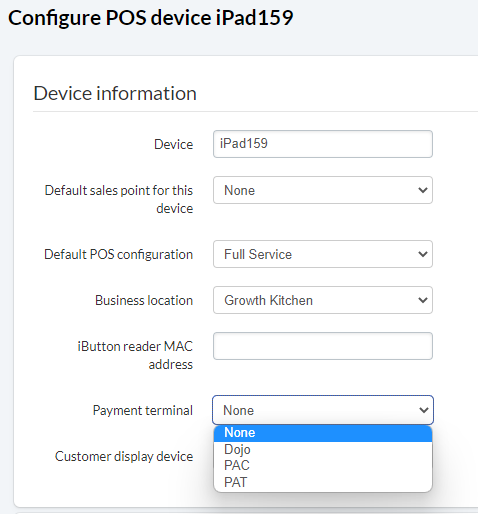
Step 3) Link the Pay at Counter readers to the tills. (You won't need to do this if you're only using Pay At Table).
a) Go to "Configuration > Devices > Devices"
b) Select the Device you want to link up.

c) Select the card reader from the "Payment Terminal" drop-down, then select "Save".
Dojo Reader Steps:
Step 1) Enable Pay At Table/ Pay At Counter on the readers.
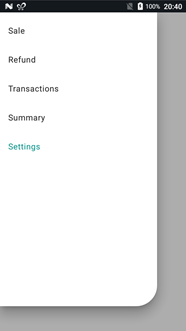
a) Press the menu bar and click "Settings"
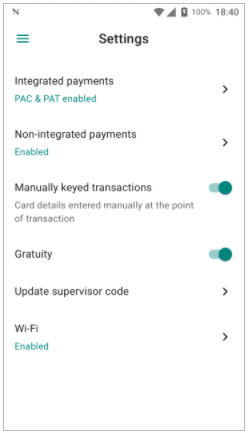
b) Select "Integrated payments"
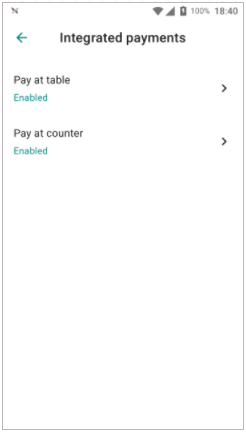
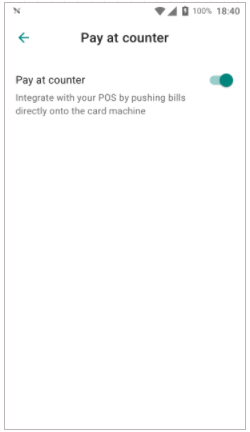
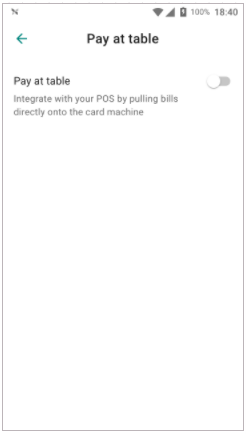
c) You'll see the "Pay at table" and "Pay at counter" options, Click into either option and then toggle the setting on or off.
Comments
0 comments
Please sign in to leave a comment.