Use Table Service mode to assign orders to a table or to assign order items to a seat or a course in the Restaurant POS app. This workflow is best suited for a server-led dining experience and offers additional features, such as splitting the check at patrons' requests.
When opening a table, you can specify the number of covers (patrons dining) if you previously enabled this option in the Back Office. Entering covers is helpful if, for example, guests wish to pay separately and split the check into equal parts. Entering covers is essential for reporting metrics where sums are related to guest count.
How To Process An Order In Table Service Mode Video
Ordering in Table Service mode
Once logged into the Register screen, Direct Sales mode will be active by default. You can place an order in Table Service mode in three ways:
- Naming An Order
- Assigning a table number via the keypad
Note: It's not possible to return to Direct Sale mode from Table Service mode. Instead, you'll have to start a new order in Direct Sale mode.
Naming an order
Enter an order name to make it easier to track and differentiate orders while personalizing a guest’s experience since the tab name appears at the top of their check.
- In the upper-left corner is the current order name displayed. Tap Tab name to apply another name.
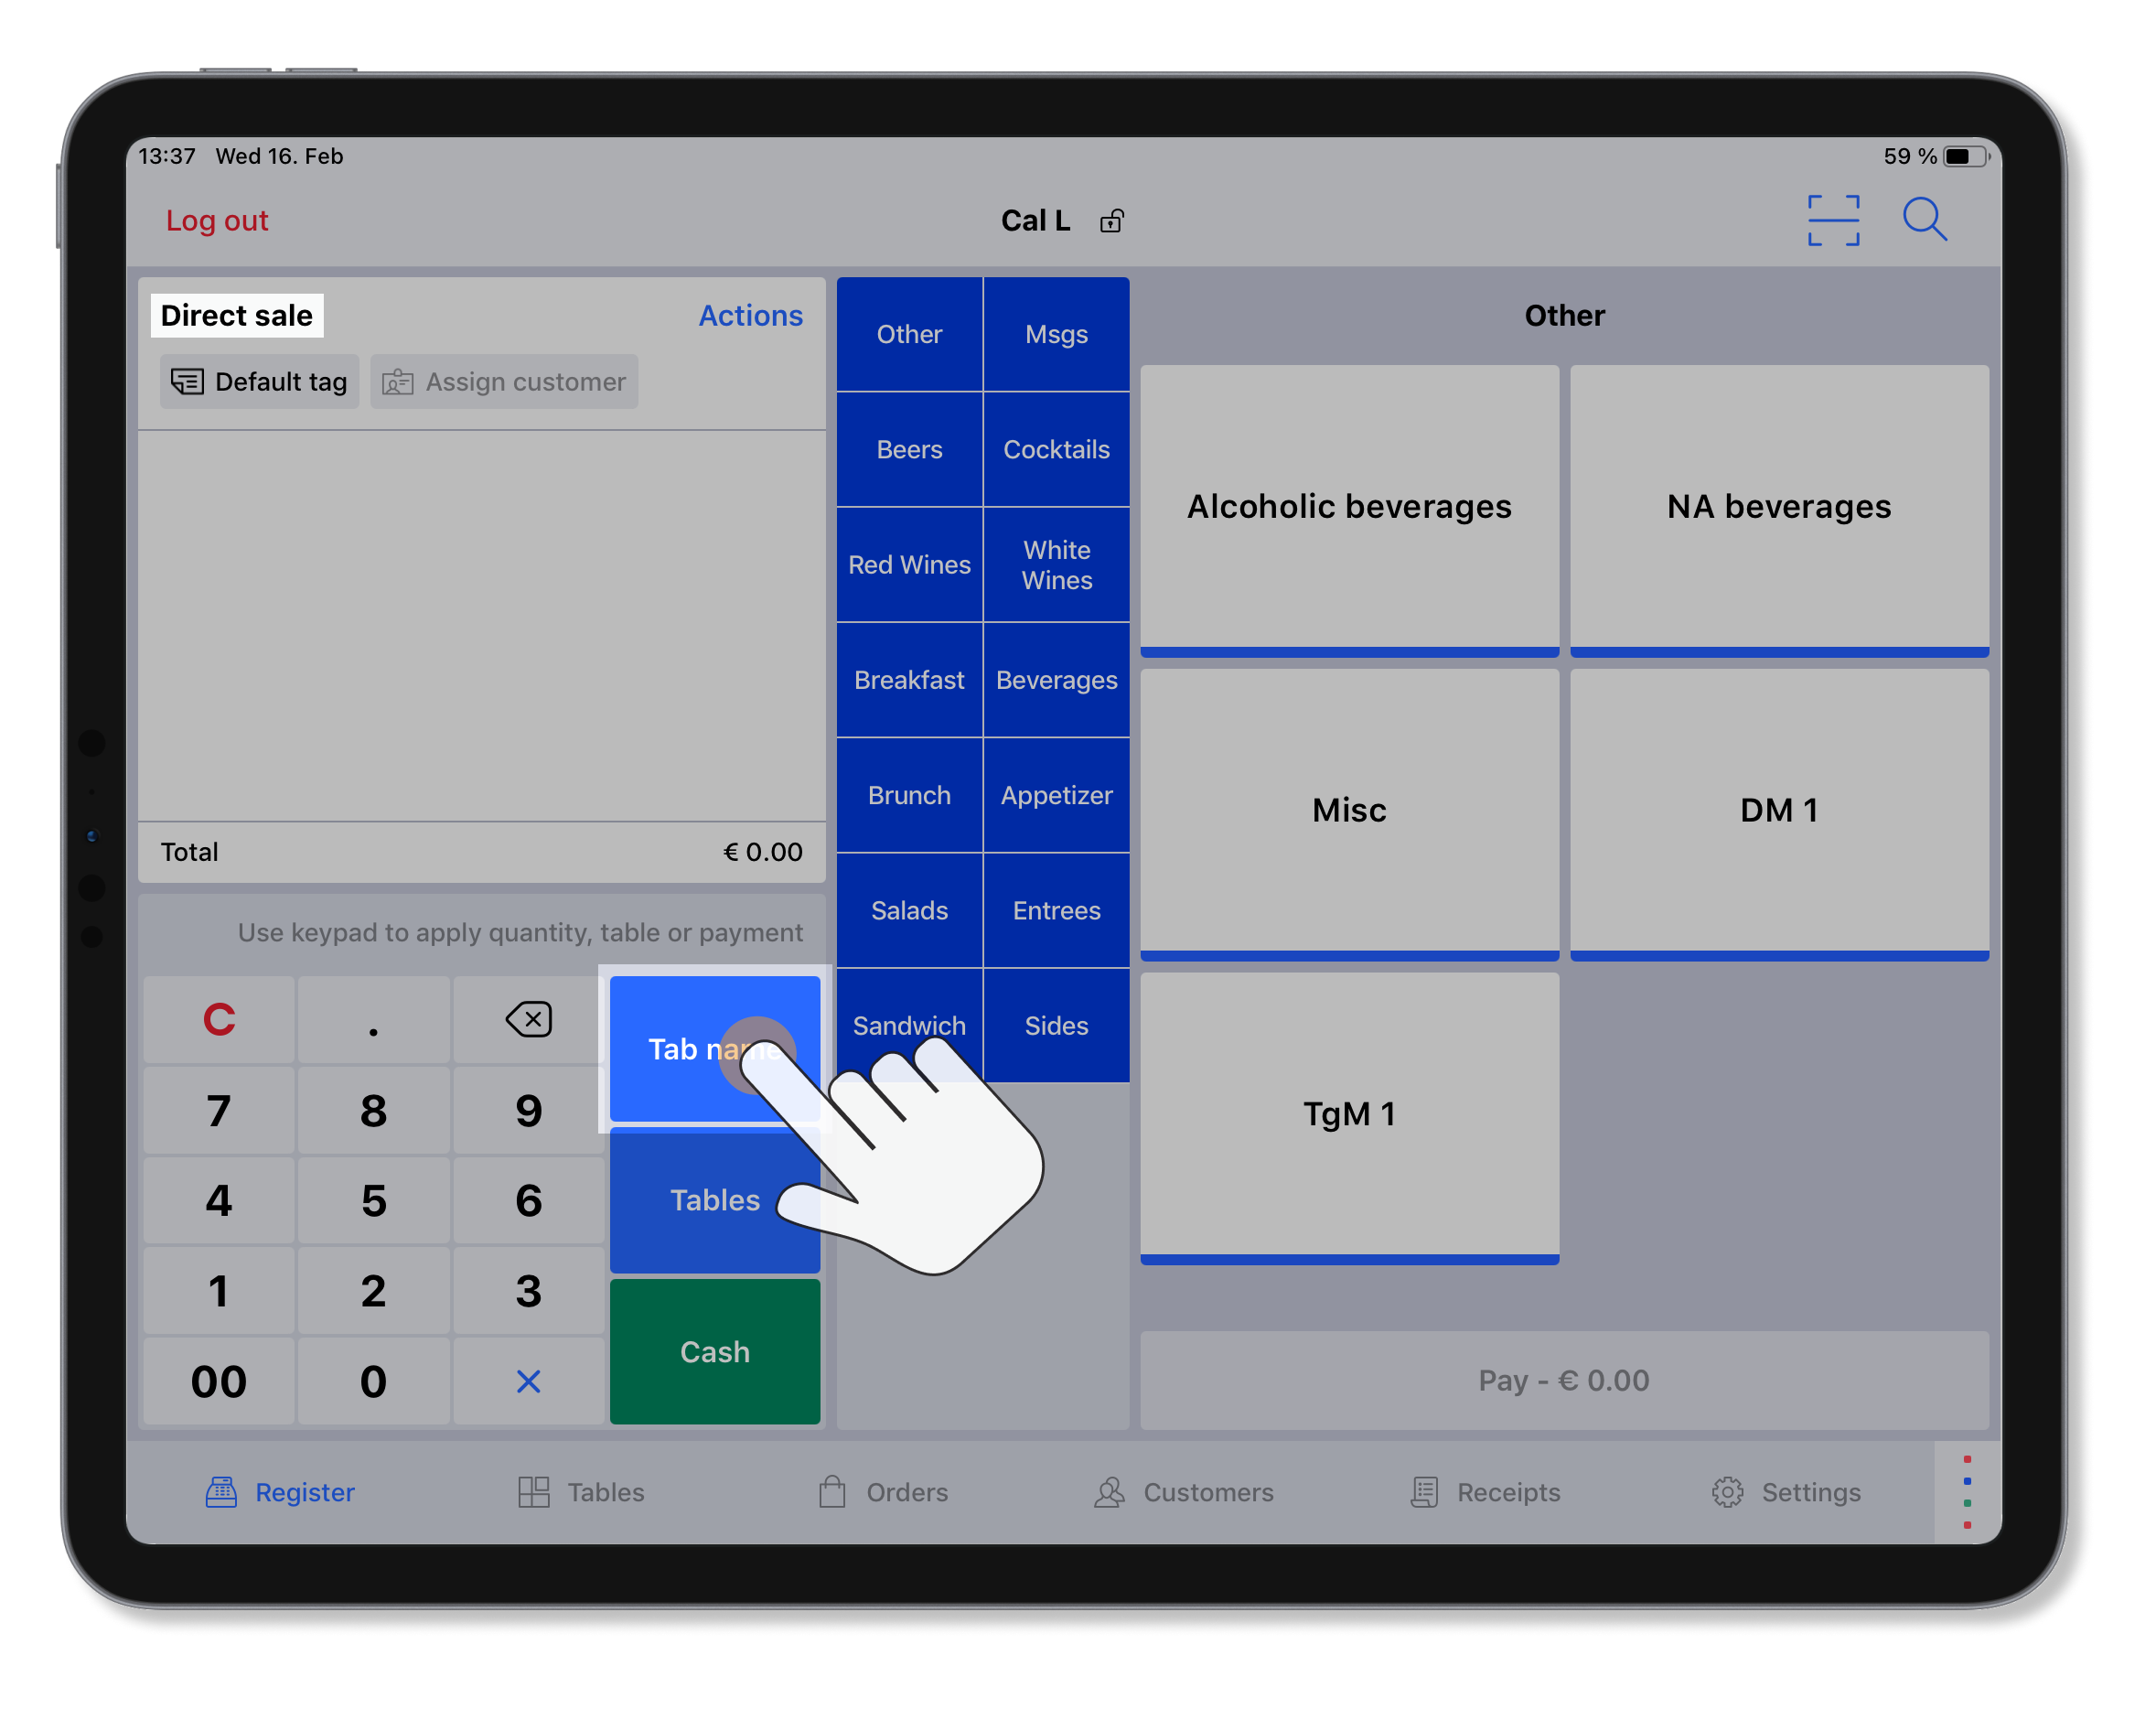
- Enter a name (e.g., "Georg," or "Birthday party") to apply to the order.
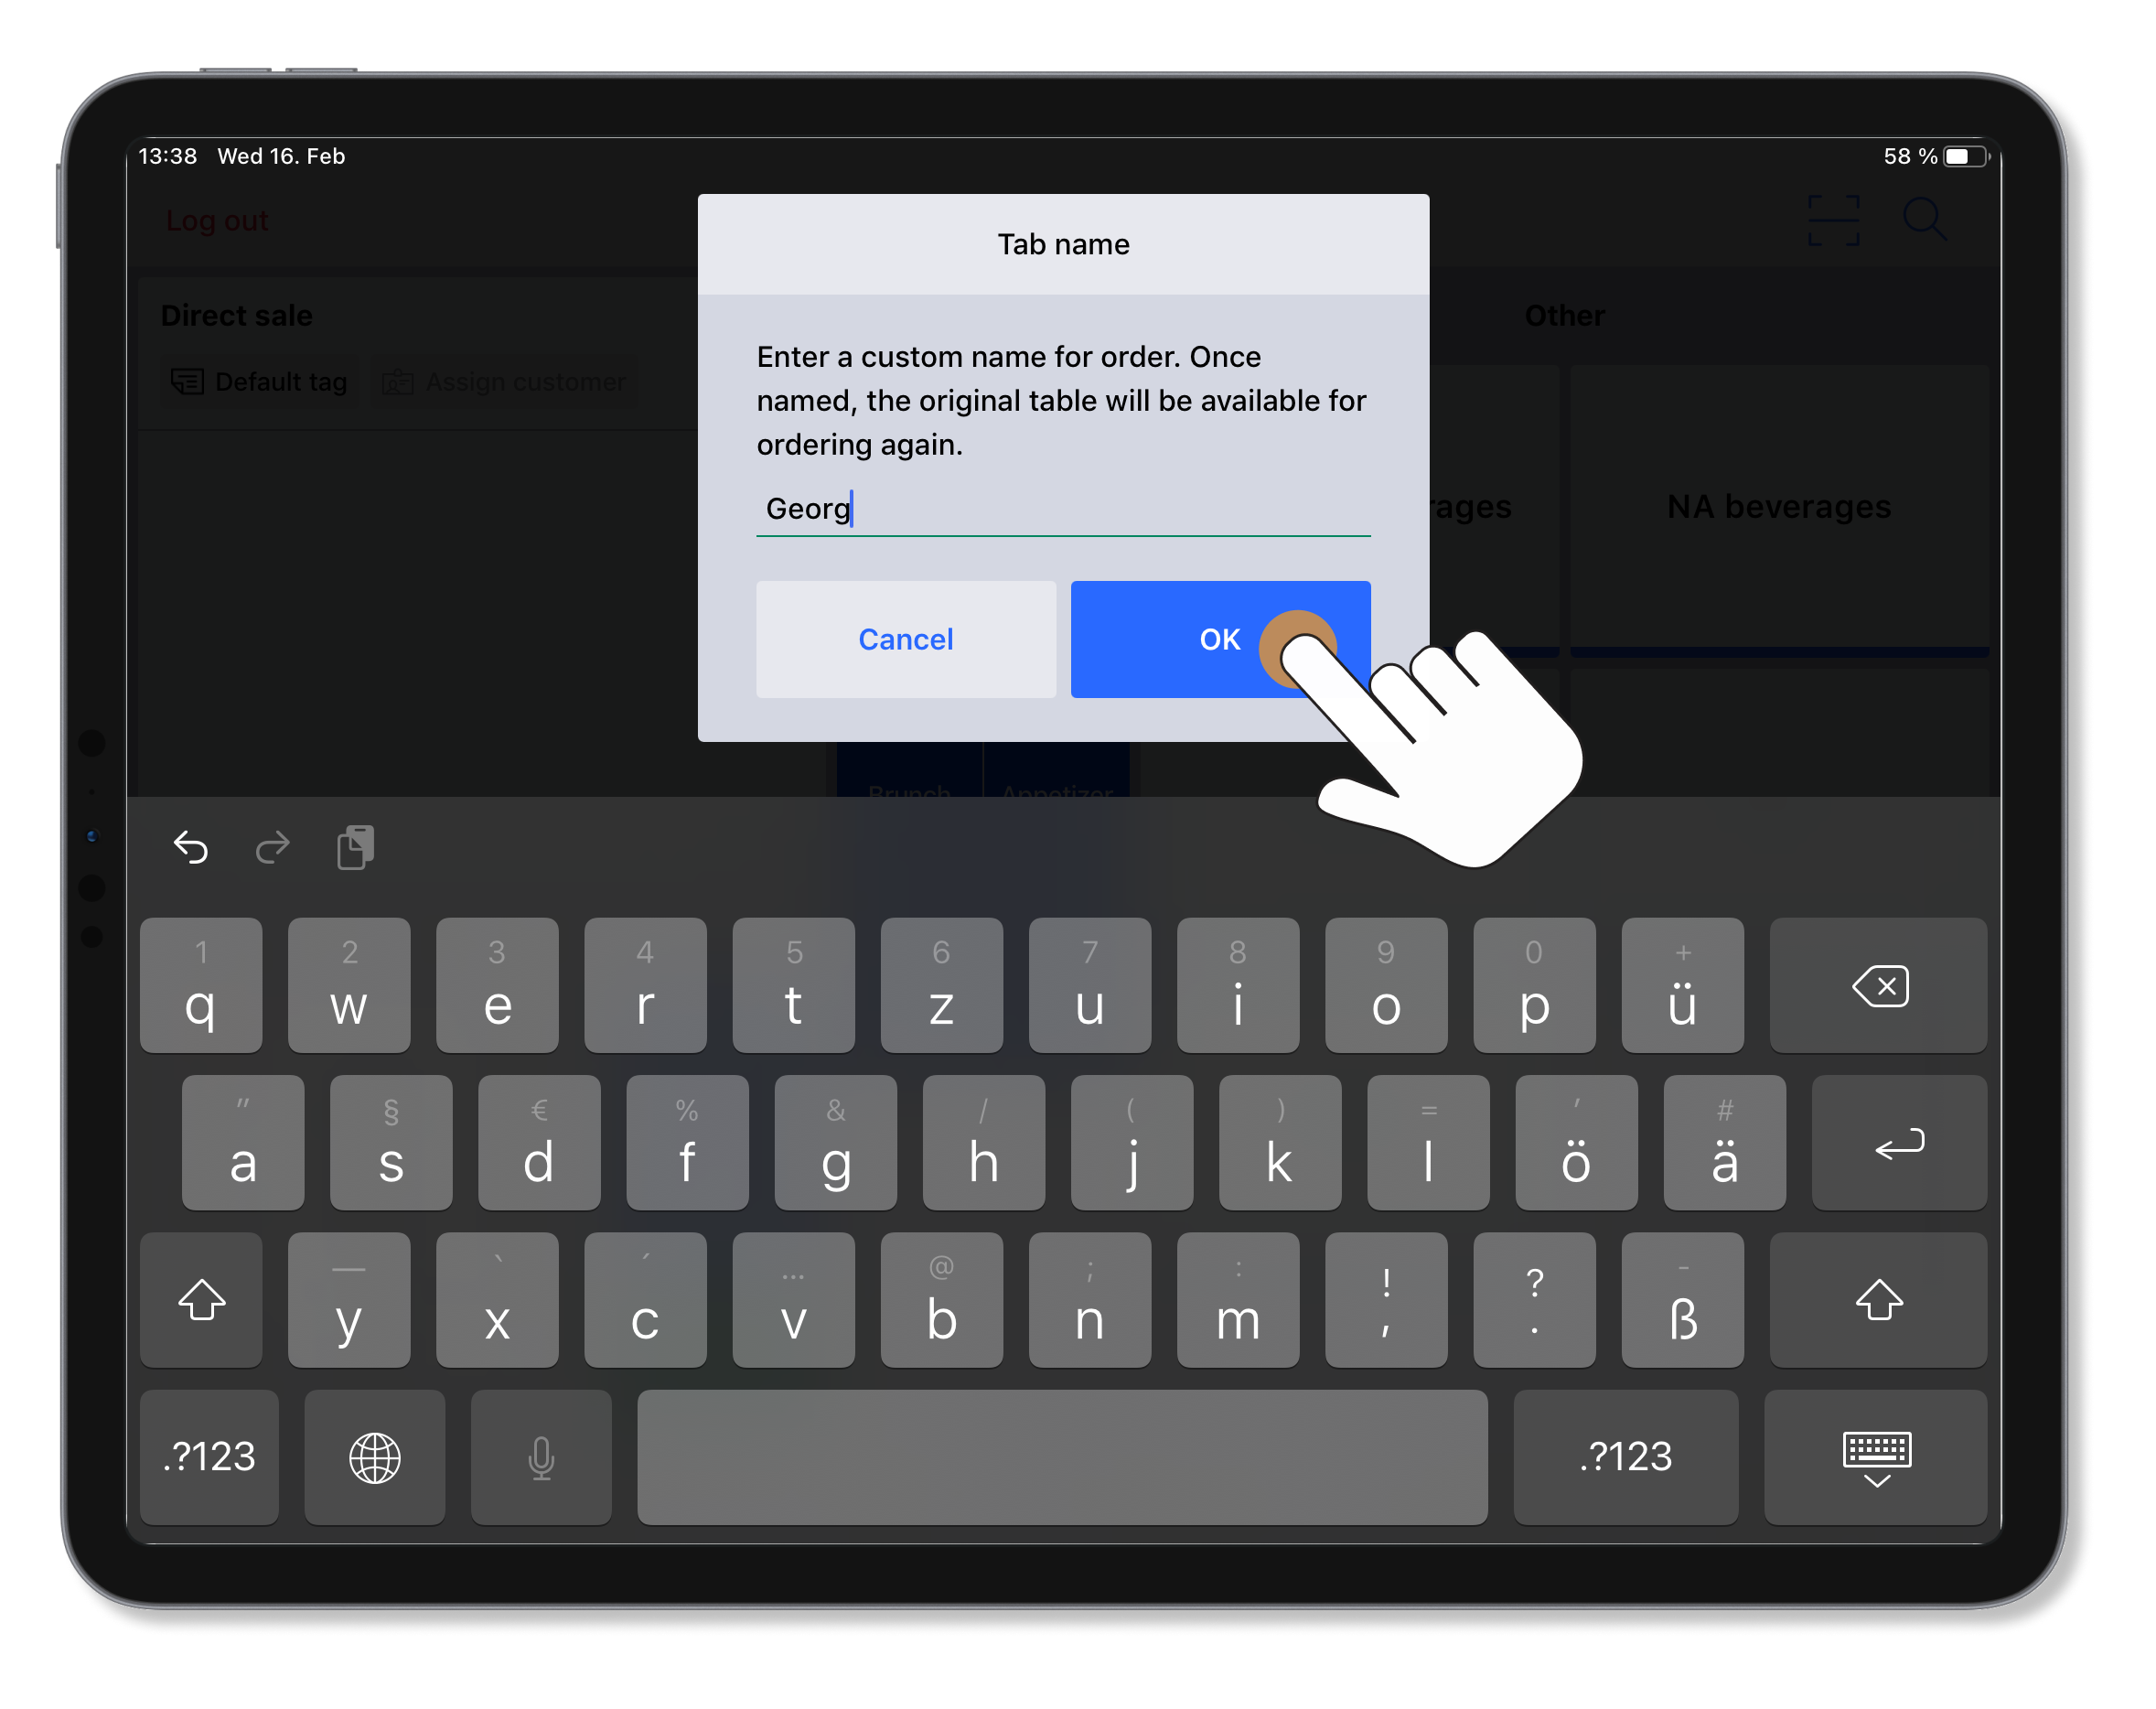
- Tap OK to confirm. Now the applied name is displayed in the upper-left corner.
Note: If you navigate away from this order, you can find and open it again by searching for it on the Order management screen. The name is also displayed on receipts and order tickets.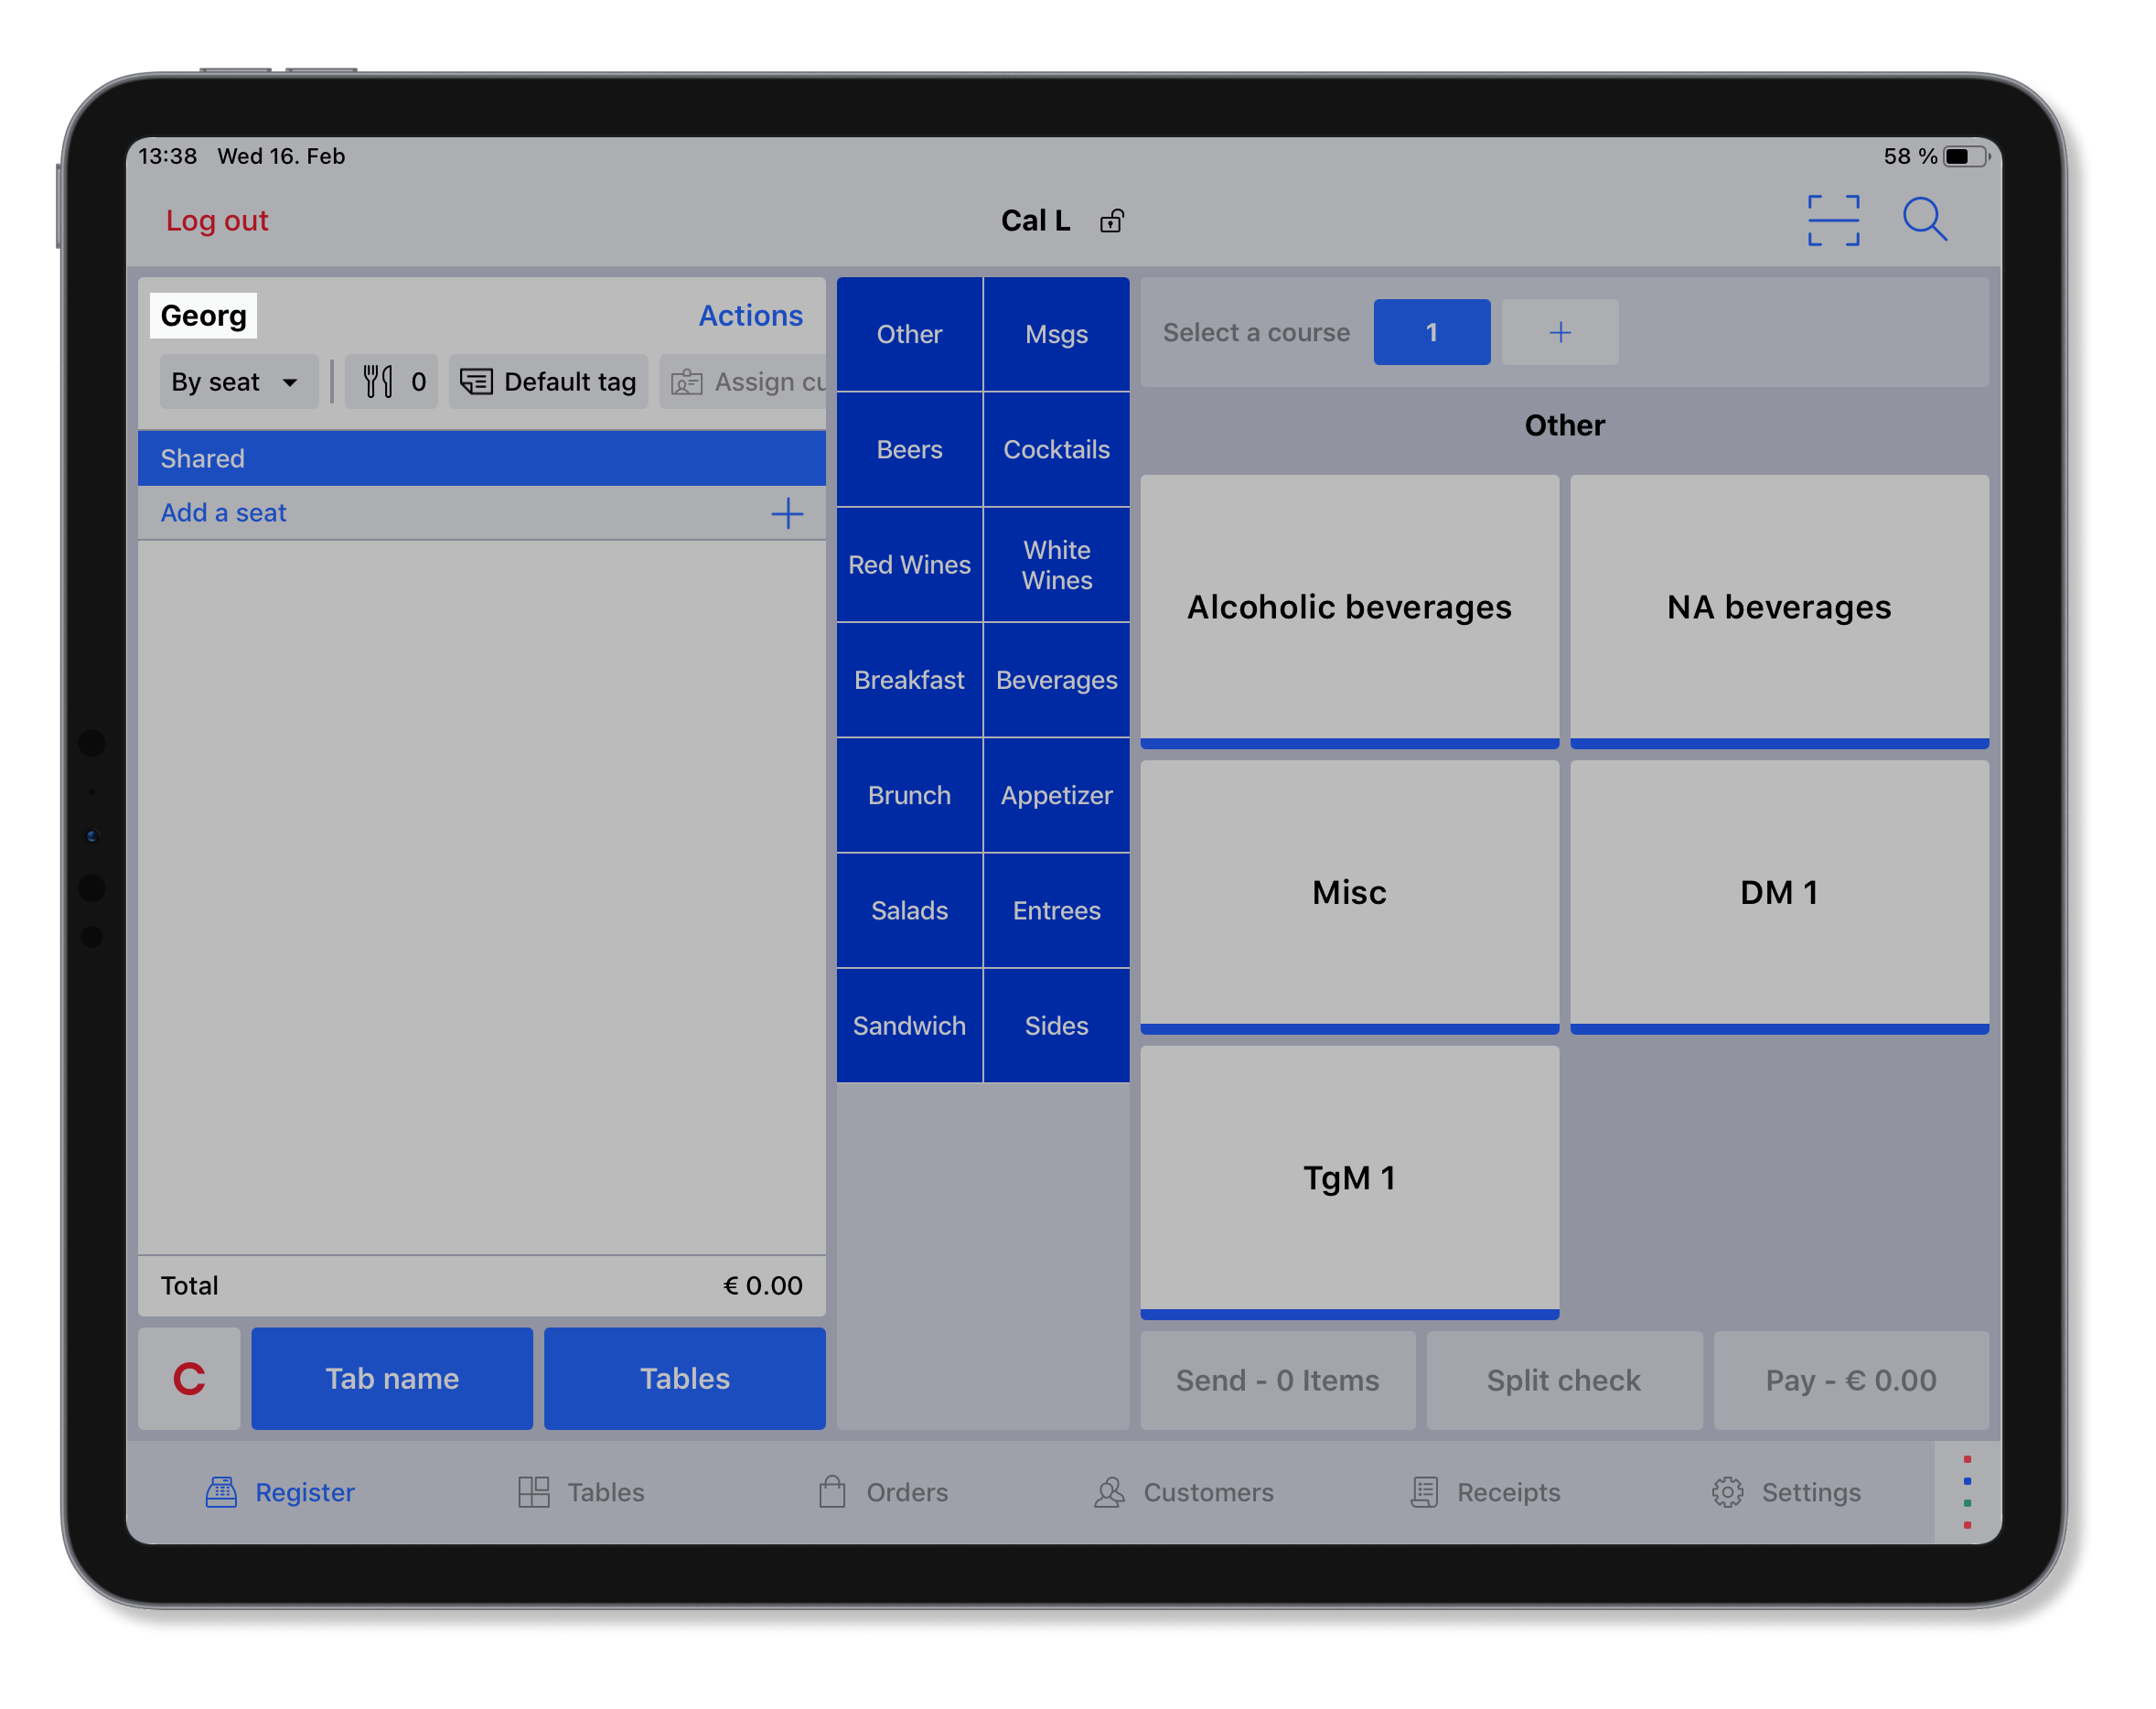
Assigning a table number by using the keypad
Using the keypad, quickly add a table to the order if you already know the table number.
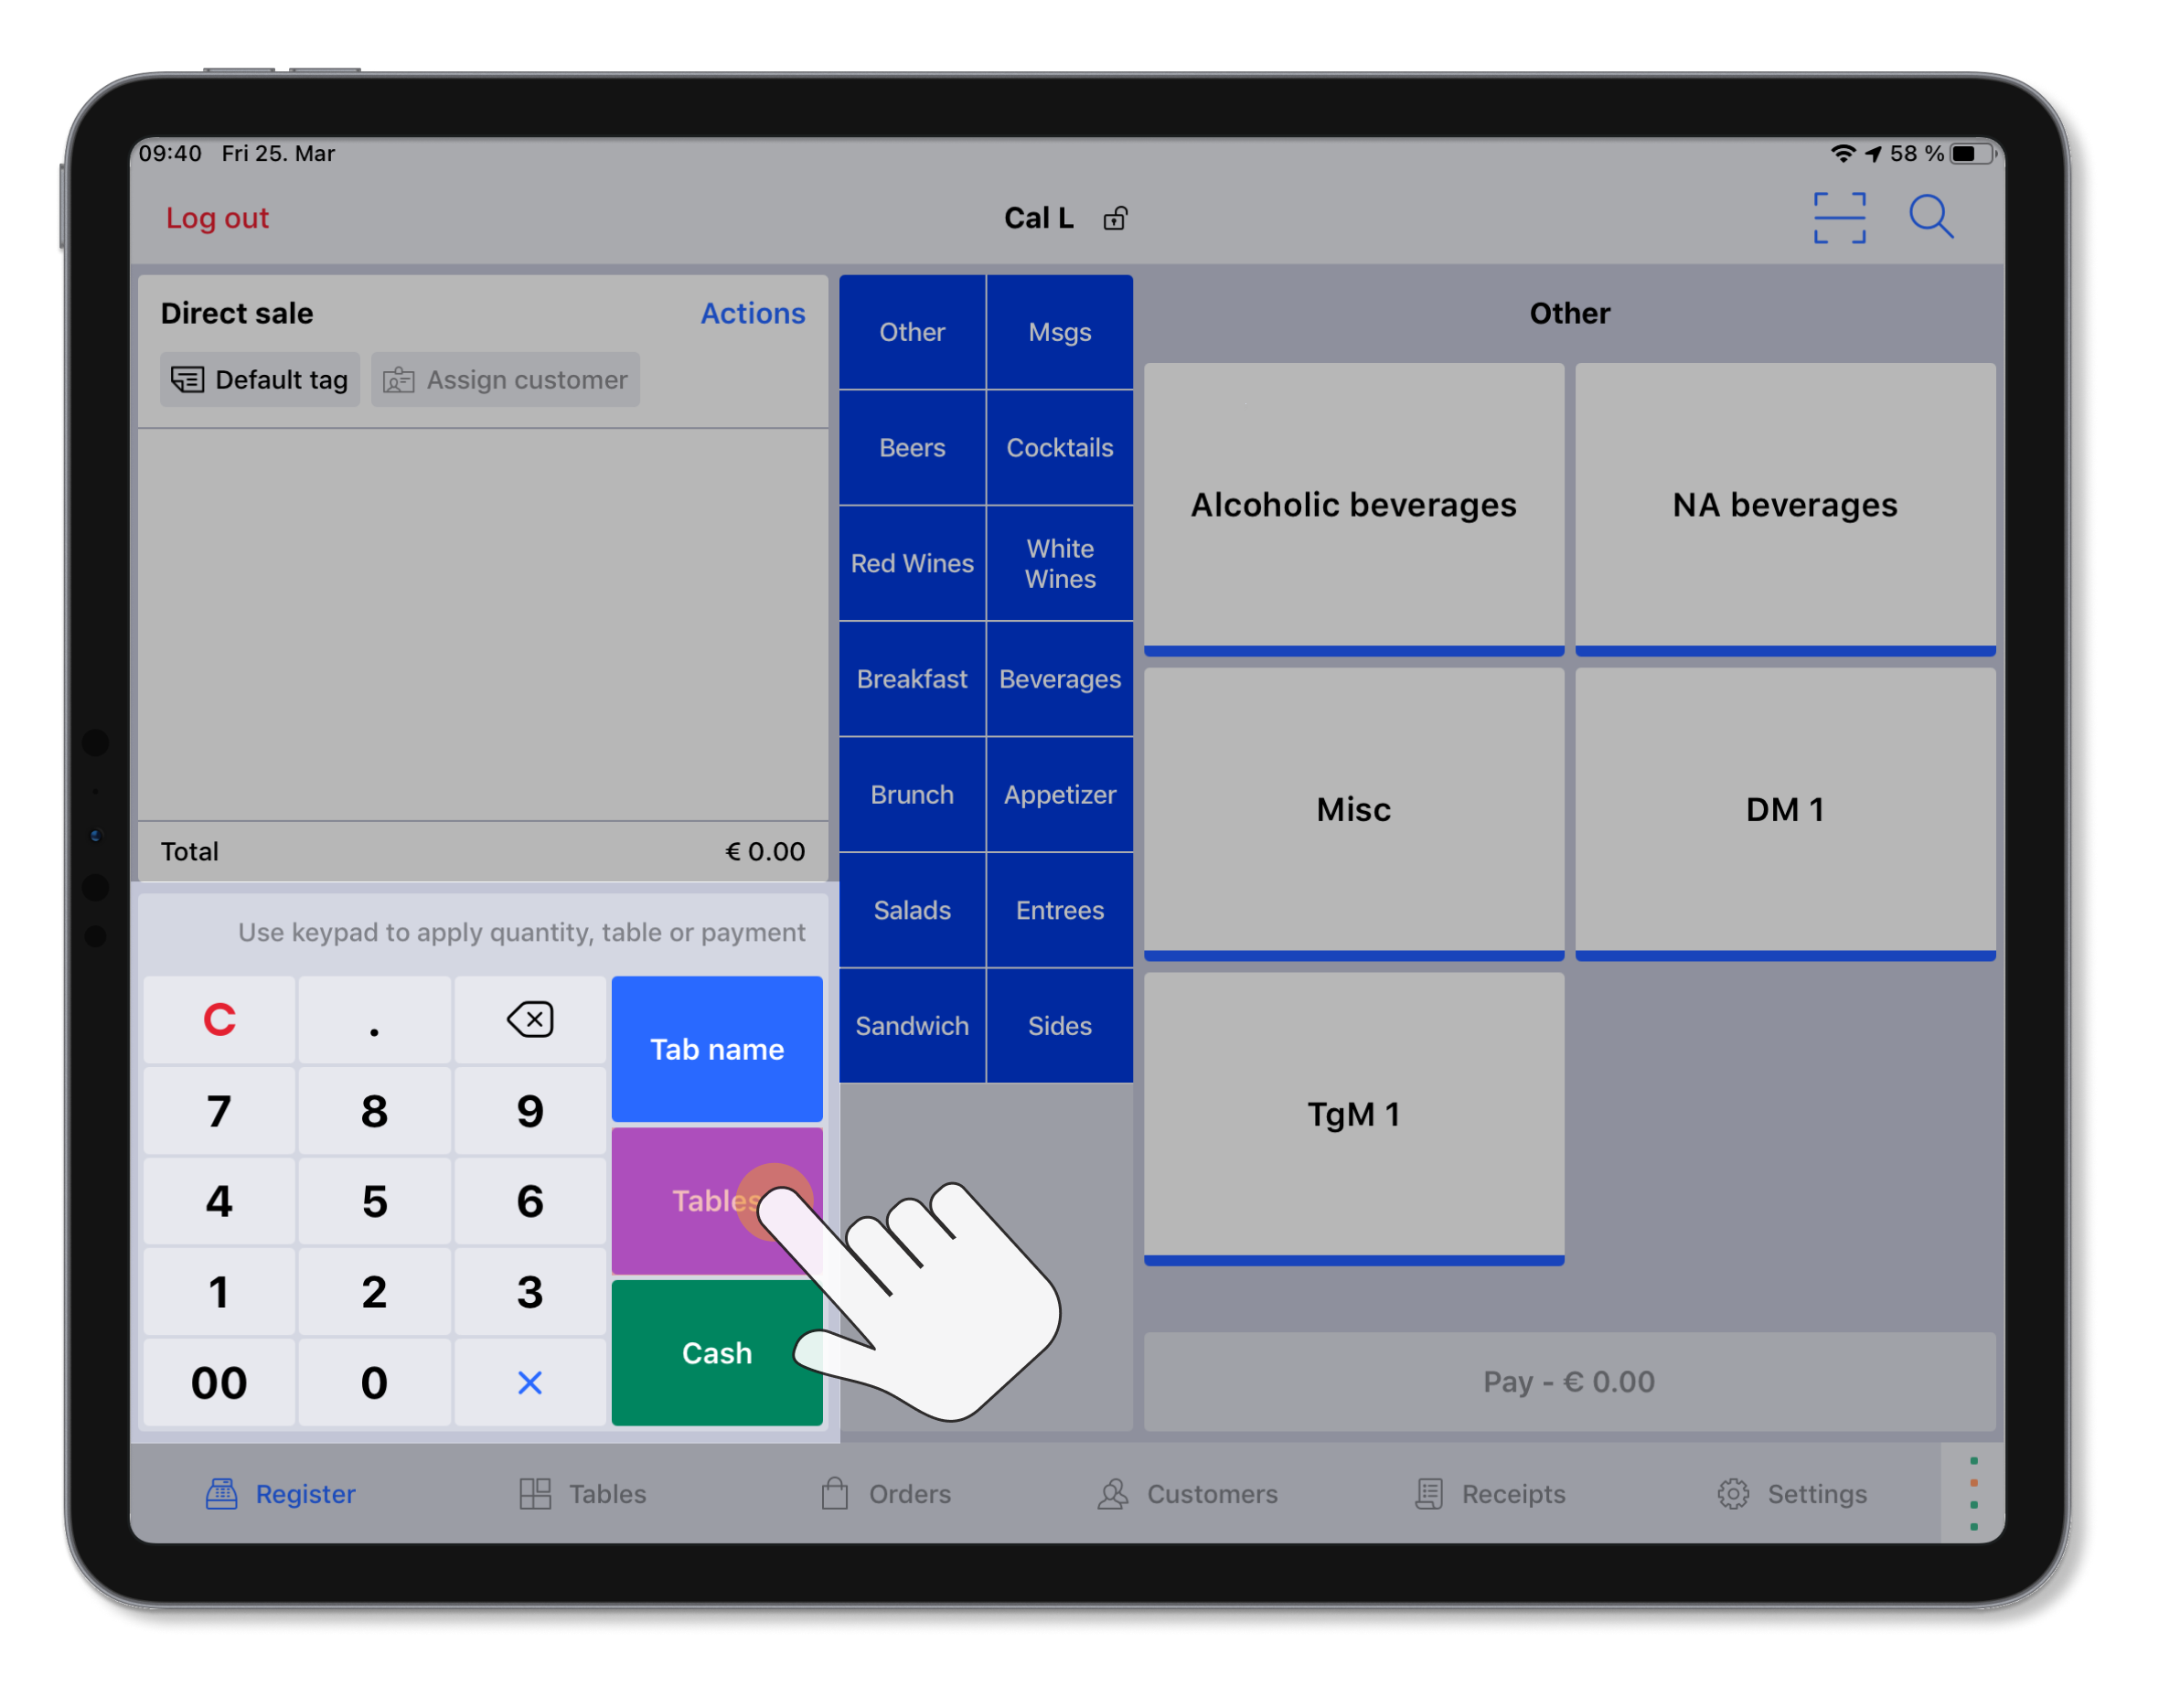
- Enter the table number using the keypad.
- Tap Tables to assign the entered table number to the order.
- (Optional) Enter the number of guests at the table, and tap Confirm if the Prompt cover count is enabled in the floor plan settings.
Once the order is given a custom name or assigned to a table, the name or table number appears in the top-left corner of the screen.
Adding orders by course or seat
Once in Table Service mode, specify how you're adding items to the order. Choose to keep the entire order shared (grouped together), add order items according to seat number, or add order items by course. You can also add order items by seat and course number (for instance, if you have a group who are paying separately and all enjoying different courses).
Adding order items by course
A multi-course order represents any time there is more than one item ordered consumed at different times. For instance, in your restaurant you may consider drinks, starters, and mains to be a first, second, and third course meal. Order items can also have predefined courses set from the Back Office, so when they are selected they're automatically added to the right course (e.g., Starters to 1st Course, Mains to 2nd Course, etc.).
- When entering Table Service mode, you're automatically in Coursing mode and adding order items to Course 1.
- To add items to another course, select Add a course from the Order view and then add the order items to the selected course. Note that you can navigate between courses by tapping the desired course name and adding items to the selected course.
- To change the course of multiple order items, select Edit order, highlight the order items and then Assign to. A pop-up window will appear asking you to specify which course you want the selected order items to be moved to. To change the course for an individual order item, tap the order line to open individual item actions. From the window, select the course for where you are moving the order item.
- Once you have added all of your order items, tap the Send button on the right-hand side of the screen. Please note that it's not possible to change the course for order items after they've been sent to your prep station.
While ordering by course, by default the entire order is grouped together or Shared. This means that the order items are only specified by their course. If you wish to also add order items by seat, you can select the+icon beside Select a seat and then add order items for the selected seat. This is useful if the order is for a large group and your order tickets need to specify the course and seat number for the items.
Note that while ordering by course, the keypad is still visible and available for use.
Adding orders by seat
If you are processing orders for a group with individual order items, you may want to process orders by seat. Ordering by seat will also collapse the keyboard on the Register screen, giving you more visibility on the entire order.
- To add order items by seat, tap the selector at the top of the Order view which says By course. A drop-down menu will appear. Tap By seat to change the order setting accordingly.
- By default, order items will be Shared until you specify a seat for them. To specify a seat, tap Add a seat on the Order view and then select the order items for the selected seat.
- To change the seat of multiple order items, select Edit order, highlight the order items and then Assign to. A pop-up window will appear asking you to specify which seat you want the selected order items to be moved to. To change the seat for an individual order item, tap the order line to open individual item actions. From the window, select the seat to which you would like to move the order item.
- Once you have added all of your order items, tap the Send button on the right-hand side of the screen. Please note that it's not possible to change the seat for order items after they've been sent to your prep station.
If you wish to also add order items by course, you can select the+icon beside Select a course and then add order items for the selected course. This is useful if the order is for a large group and your order tickets need to specify the course and seat number for the items.
Sending orders
When in Table Service mode, we can notify your prep stations of incoming orders by sending the order items. Sending an order means to push the order items to your prep station, either as a printed ticket or displayed on a Kitchen Display System. Once the order is sent, it is not possible to edit the course or seat.
- To send order items for preparation, tap the Send - x items button on the Register screen.
- If your order contains just one course, the order will be prepared all at once.
- If your order contains multiple courses, the prep station will view the entire order divided by course.
- You can notify the kitchen when the next course is ready to be prepared by selecting Fire course.
- To add additional items to the order, simply open the order, add the additional items, and then press the Send - x items button once again. This will print only the latest orders and corresponding table number or tab name.
Firing a course
If you have ordered multiple courses, you can use the Send items and Fire course buttons to print a ticket and inform your prep station that the next course should be prepared. For example, if you are serving a three-course meal and see that the customers are almost done with the current course, tapping Fire course will print the next order ticket in the kitchen, indicating that the table is ready for the next course items.
- From the POS app, create a multi-course order and tap Send - # items.
- Select Orders from the navigation bar.
- Tap the order you created in Step 1 to reopen it.
- Tap Fire course 2, and the second course will be printed at its production center.
The first unfired course is indicated by a white flame icon
. Once the course is fired, the icon turns orange. When the next course is fired, the previous course is marked with a green checkmark, indicating completion, and the orange flame shifts to the newly fired course.
Processing a payment
When your guests are ready for payment, you can select the Print check button (below the order view) to print a draft receipt for the order. This is a common workflow for Table Service environments where guests wish to view their check before paying or leaving a tip.
To process the payment, select the Pay button on the right-hand side of the screen to enter the Payments screen. If you're ordering by course, you can select the quick pay button Cash to automatically settle the transaction as a cash payment.
Comments
0 comments
Please sign in to leave a comment.