About printing profiles
In order to print receipts and production tickets with the cash register, the system requires print settings based on three pillars: printer settings, printing profiles, and production centers.
A printing profile includes the settings that control whether a printer will print copies of receipts or production tickets, or whether another printer should be used as a backup printer.
Adding printing profiles
To print with Lightspeed Restaurant (K Series), you'll need to create printing profiles from the Back Office. A printing profile includes the settings that control whether a printer will print copies of receipts or order tickets and whether another printer should be used as a backup printer.
Adding a printing profile:
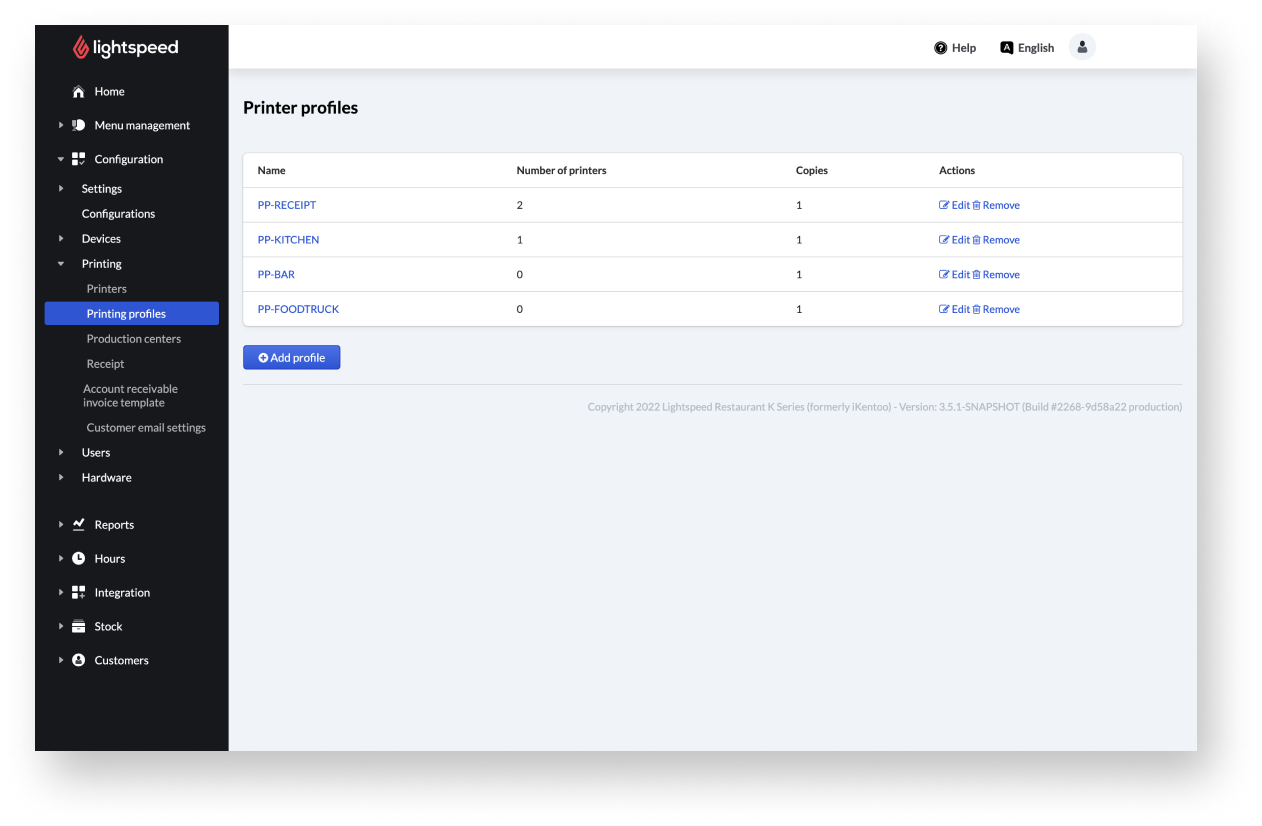
- From the navigation bar go to Configuration > Printing > Printing profiles.
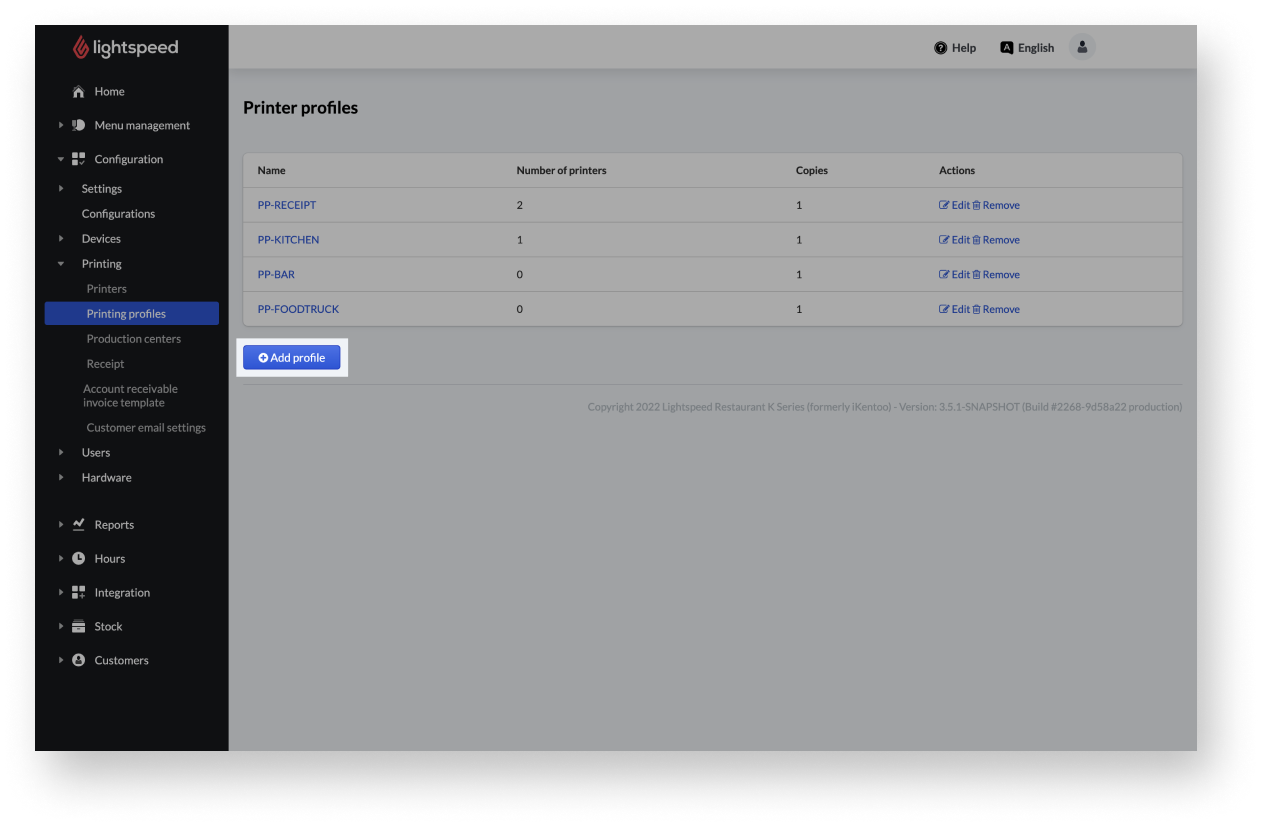
- Select+ Add profile to create a new profile on the Back Office.
- Fill the profile form.
- Select Save to add the changes to the profile.
| Name | Give the profile a name and enter it. |
| Copies | Set the number of copies using the slider. |
| Add a header when printing on a fallback printer | If desired, activate the checkbox. |
| Checkbox Selected printers | Note: After choosing the printers, use the blue arrows to rearrange the printers' order. |
| Checkbox Other printers |
By selecting this checkbox, the fallback printers are defined. NOTE: When a device prints a receipt on a printing profile, it first tries to print on the first printer in the list. If this printer is turned off or cannot print, the device will attempt to print on the second printer in the list, and so on. |
Editing or deleting printing profiles
A printing profile includes the settings that control whether a printer will print copies of receipts or production tickets, or whether another printer should be used as a backup printer.
If ever needed, you can always edit or delete a printing profile from the Back Office.
Editing a printing profile
- From the navigation bar of the Back Office, go toConfiguration>Printing>Printing profiles.
- Click Edit next to the printing profile to be changed.
- Make the desired changes.
- Select Save to apply the changes to the profile.

Deleting printing profiles
If you no longer need printing profiles, you can remove them from the Back Office.
When deleting a printing profile, there is no confirmation prompt. Instead, the printing profile is deleted immediately.
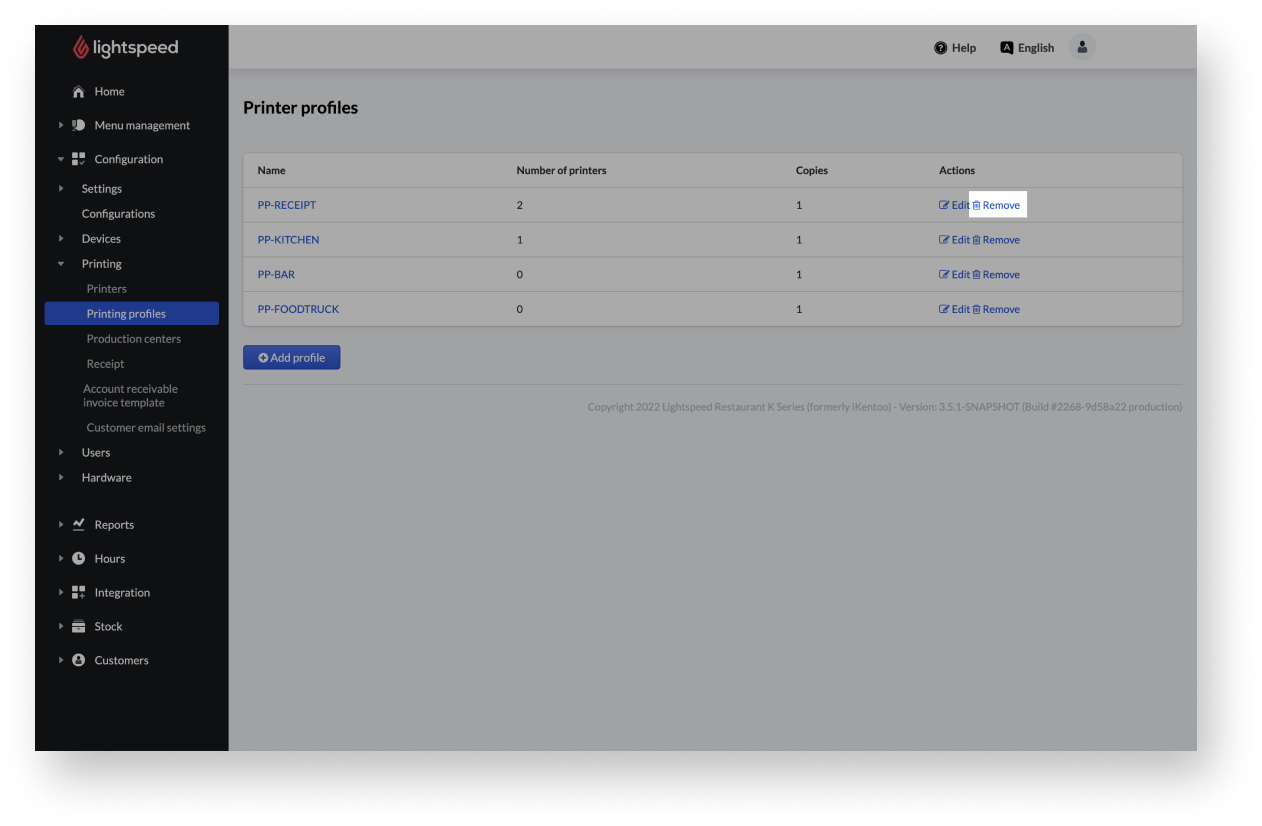
- From the main navigation bar of the Back Office, go to Configuration>Printing>Printing profiles.
- Select Remove next to the desired printing profile for deleting it.
Linking a printing profile
A printing profile includes the settings that control whether a printer will print copies of receipts or order tickets as well as whether another printer should be used as a backup printer. After creating a printer profile, you can link it to a floor plan, POS device, or POS configuration.
Linking a printing profile to a floor plan
If you want to associate printouts to a specific area of your business, you can apply a printing profile to a floor plan. To learn more, please access Floor plans and tables.
Linking a printing profile to a device
The purpose of associating a print profile with a device is that you instruct the device to use that profile to print receipts or notes.
Profiles linked in this way should only be used if for some reason it is necessary to assign a special purpose to a certain printer, as this configuration trumps the settings in a POS configuration.
- From the main navigation bar of the Back Office, go to Configuration>Devices>Devices.
- Select Edit next to the desired device.
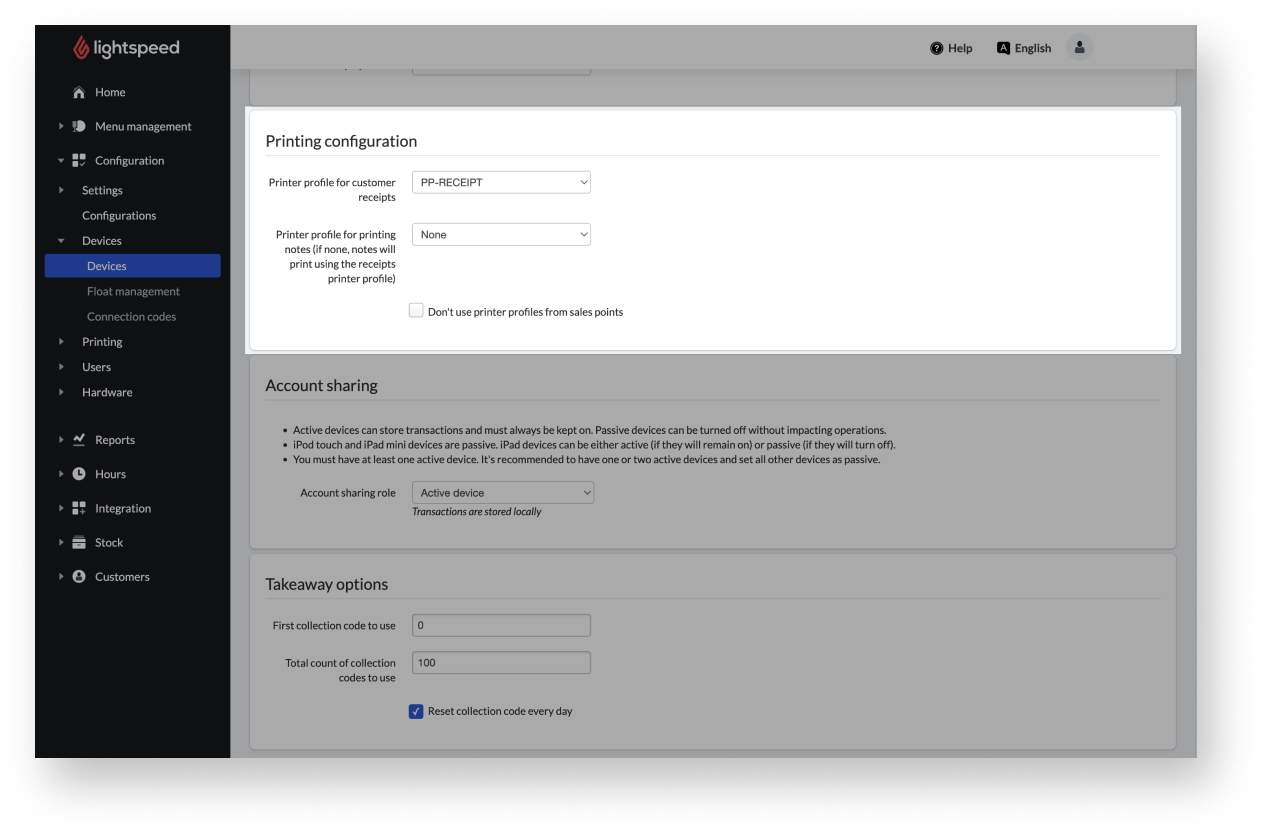
- Under Printing configuration select the printing profile for customer receipts and notes via the drop-down menu.
Note: All previously created printer profiles under Configuration>Printing>Printing profiles are shown here - Select Update to link the profile to the device.
Linking a printing profile to a POS configuration
Linking a printing profile to a POS configuration ensures that a group of devices uses the same configuration. This helps to ensure all devices in a group print the same way, and a change in a printing profile is automatically applied to every device in the group.
To link a printing profile to a POS configuration:
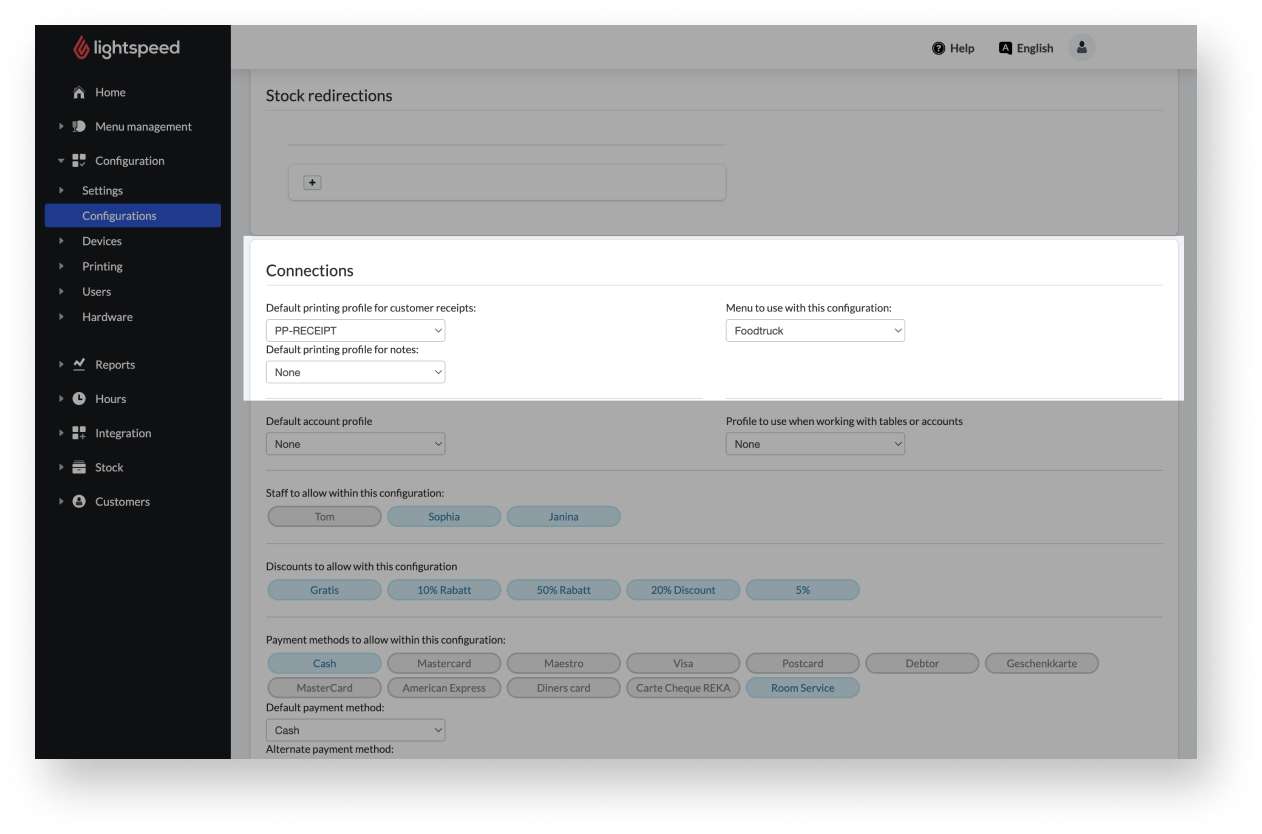
- From the navigation bar go to Configuration > Configurations.
- Select Edit next to the desired configuration.
- Under Connections, select the printing profile for customer receipts and notes via the drop-down menu.
Note: All previously created printer profiles under Configuration>Printing>Printing profiles are shown here. - Select Save to link the profile to the configuration.
Comments
0 comments
Please sign in to leave a comment.