Step By Step - How To Add A Backoffice User (Click Me)
Add a Back Office user for every employee that you wish to access the Back Office.
- Log in to the Back Office with your Lightspeed credentials.
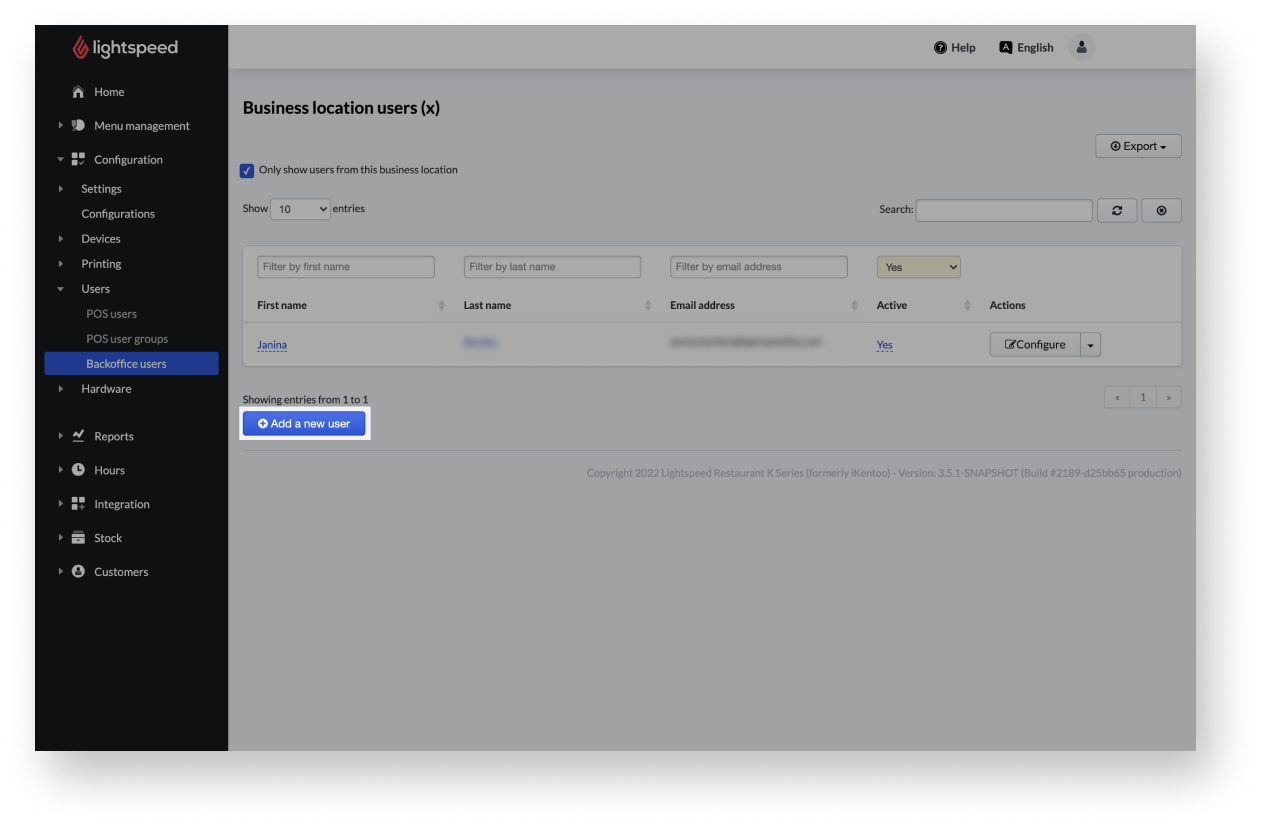
- From the navigation menu, select Configuration > Users > Backoffice users.
- Click Add a new user to create a new Back Office user.
- Fill in the user’s email address and name, and select user permissions for the employee.
- Click Add user to finish adding the user.
After you've created the new user, the password will be sent to the email associated with this user.
Back Office user settings
| Setting name |
Description |
| Email address |
Email Address of the Back Office user to receive the mail with the login data for the Back Office. |
| First name |
Back Office user’s first name. |
| Last name |
Back Office user’s last name. |
| User permissions |
- [BO-WRITE] User has write access to the Back Office:
The user has Back Office access, but only for Integrations, Stock, and Customers pages.
- [BO-REPORT] User has access to the Back Office reports:
The user has access to all Business reports, Staff reports, Device reports, Products reports, Shifts reports.
- [BO-CONFIG] User can edit the configuration: Configurations are POS profiles that are associated with a specific menu and settings.
The user has permission to edit these settings listed in Configuration > Configurations.
- [BO-USERS] User can manage POS and Back Office users and their access rights:
The user has permission to edit the access rights of the users listed in Configuration > Users.
- [BO-PMS] User can access the receipt quick view page:
If this role is enabled, the extra tab 'PMS search' is available. Within this tab, you can see receipts linked to the PMS (Property management system) integration.
- User can manage taxes (US and Canada only):
If enabled, the user will be able to access the Taxes and Tax profiles sections of the Back Office.
|
Comments
0 comments
Please sign in to leave a comment.